
Well, correct me if I am wrong in saying that most of our ML/DL scripts live in a folder that we never really access after doing our project. Once we get good results or learn what we wanted we just move on to the next task. Well here is the problem with us engineers. We just think too practically. Well, it’s great your model works but why not deploy it so that the whole world can learn from it.
This is called an end to end ML pipeline and this is what is valued in today’s job market.
You built a cool network. It’s great! But no one has the time or patience to clone it from Github and then install dependencies and then hope everything goes as planned. It might work but as engineers, our goal should be to remove as many barriers as we can for the customers using our products.

Entry Streamlit
Streamlit is a web app building and sharing platform. It is Python-based and is extremely user friendly. You just need to install it using:
This will install the streamlit package. Now run:
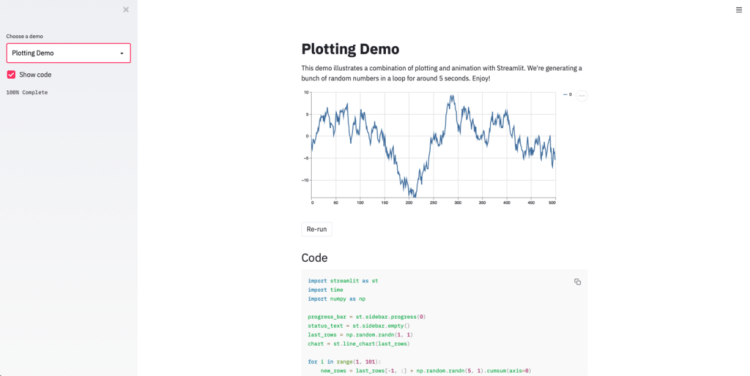
Running it will open up the hello file in your web browser. You can choose from a number of pre-built streamlit examples. Here I have chosen the plotting demo and the plotting happens in real-time.
Deploying custom Pytorch scripts
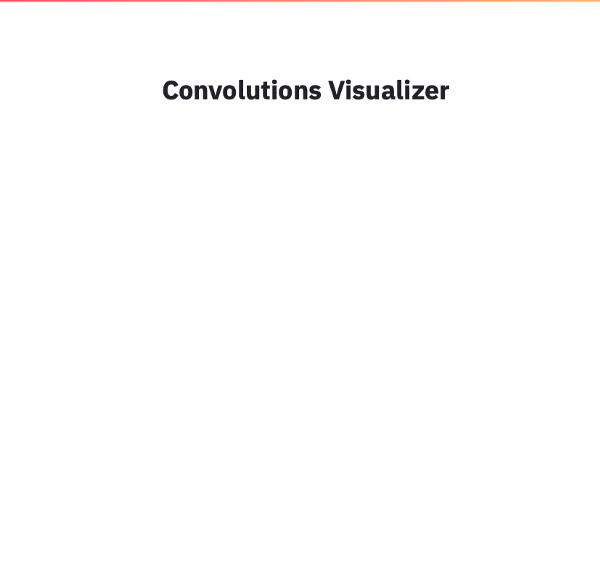
We will make a simple convolution visualizer. To give a title to our project st.title() is used as follows:
You can run this command in the terminal by running
You will get the following output in your web browser:
Now we got to add our Pytorch model and start doing something fun. Let’s load a pre-trained model of Alexnet. Our plan is to ask the user the layer he/she wants to visualize and then display the convolutions in real-time.
Trending AI Articles:
2. Generating neural speech synthesis voice acting using xVASynth
The dictionary alexnet_layersis for mapping the user input to the convolutional layer. The @st.cache decorator does some heavy lifting for you behind the scenes. It allows developers to skip certain costly computations when their apps rerun. The Streamlit cache allows your app to execute quickly even when loading data from the web, manipulating large datasets, or performing expensive computations. When you mark a function with the @st.cache decorator, it tells Streamlit that whenever the function is called it needs to check a few things:
- The input parameters that you called the function with
- The value of any external variable used in the function
- The body of the function
- The body of any function used inside the cached function
The visTensor()method takes in a pytorch tensor as input and plots the tensor and saves it as a file to be later diaplyed by streamlit.
st.selectbox()constructs a dropdown menu. As you can see currently I just have one network architecture (Alexnet) but the drop-down can be extended by adding more elements to the list.
Then we make a dictionary of models. Here you can see that dictionary models only contain one key-value pair but more models can be added to it.
st.file_uploader() helps us upload any image file to our streamlit app. We check if the file is uploaded or not. We also make a slider using st.sidebar.slider() that helps us select number of convolutions per row to display as output. st.button(“Visualize”) is the button that we intend the user to press and get the results.
If the user clicks the button the code under “if clicked:” gets called.
The complete code is as follows
The following is the output on running
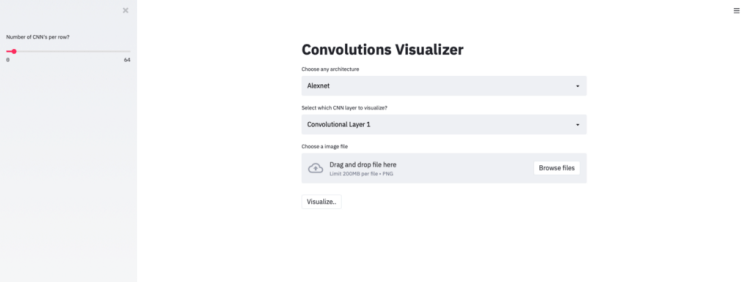
We select Alexnet from the dropdown menu and select 16 rows from the left scroll. Next, we select Convolutional Layer 1 to visualize from the drop-down.
I also select a random cat image as my input image.

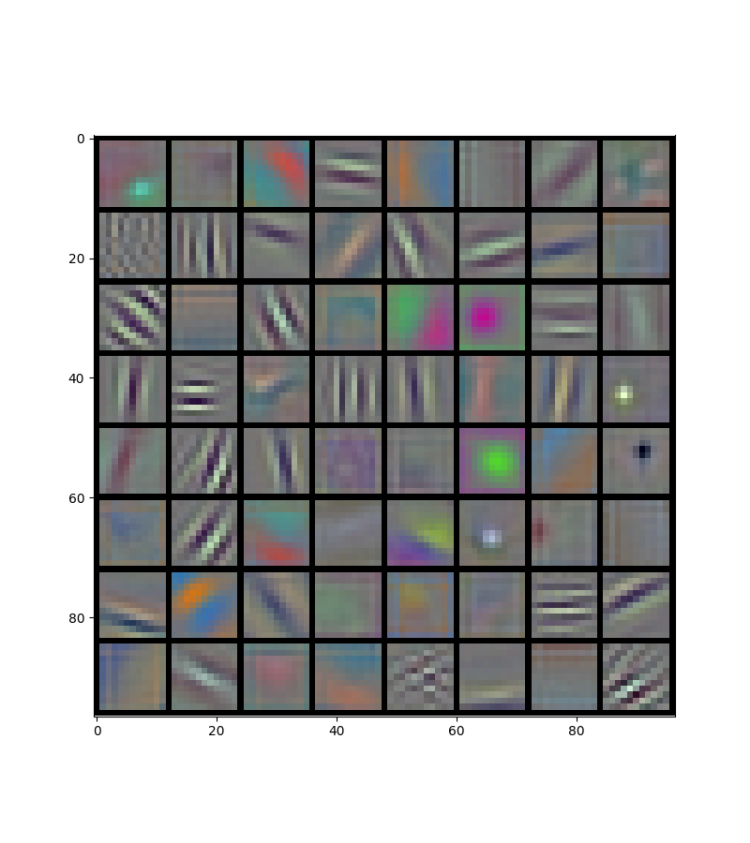
Now is the part you all have been waiting for. This is the part that makes it worth all the effort. Thank you for being so patient throughout this article. Here are the results for Layer 1:
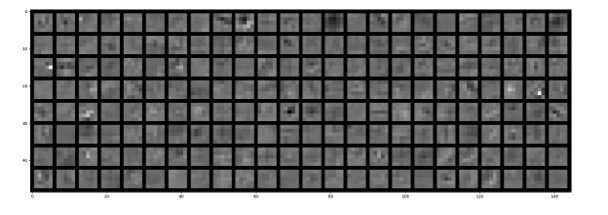
Now let’s have some fun and select convolutional layer 2.
Note: Convolutional layer 2 corresponds to layer 3 in Alexnet. Also, any layer after layer 1 in Alexnet gets > 3 dimensions. So in order to plot it, we need to reshape it into a lower dimension tensor. In that process, we lose a lot of information but still, something is better than nothing.
I hope that this article was informative. I hope it will motivate you to get your hands dirty and delve right into it. If it was helpful please press the clap button. It helps a lot :).
Don’t forget to give us your ? !


How to create your Machine Learning web app in minutes was originally published in Becoming Human: Artificial Intelligence Magazine on Medium, where people are continuing the conversation by highlighting and responding to this story.
