
Installing KubeFlow on your Local Machine
KubeFlow is an open-source ML toolkit for Kubernetes. It is a convenient tool for making Machine Learning Workflows Simple, Portable and Scalable. As, it runs on top of Kubernetes it can run on-prem Servers, GKE (Google Kubernetes Engine) and Amazon Elastic Kubernetes Service (EKS) or any other Kubernetes Service.
There are many ways of Installing Kubernetes Locally in your System:
When we check for Local KuberFlow options we are having MiniKF, in the official documentation of KubeFlow, they are using Vagrant and VirtualBox to install MiniKf. I avoided this installation as i wanted to avoid VirtualBox.

Another option is first Installing MiniKube and then Installing Kubeflow on that. I encountered some bugs where it did not install few of the services.
The Easiest Option which I found was using MicroK8s. Following are the commands which I used to install this.
- First Step is to install microk8s.
sudo snap install microk8s -classic
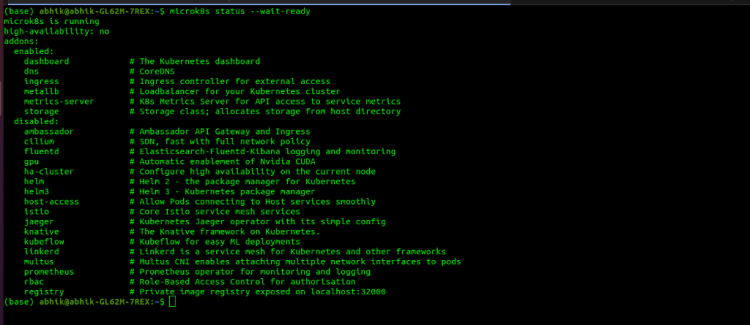
2. Verify the status of microk8s
microk8s.status –wait-ready
Trending AI Articles:
1. Top 5 Open-Source Machine Learning Recommender System Projects With Resources
4. Why You Should Ditch Your In-House Training Data Tools (And Avoid Building Your Own)
3. We have to enable Services which have will be used by KubeFlow.
microk8s.enable dns dashboard storage
4. For Deploying KubeFlow
microk8s.enable kubeflow

After Deploying Kubeflow we will access the KubeFlow Dashboard. We will the dashboard IP in the command line. We will also get Username and Password which we will require to access the KubeFlow Dashboard. After entering the credentials we will access the Dashboard which will look like this.

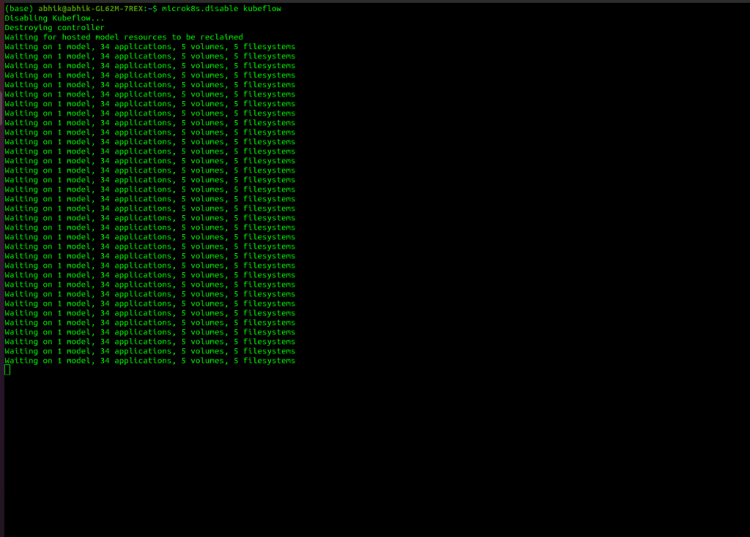
5. Stopping After Deployment
microk8s.disable kubeflow
Congrats! Hope You are Enjoying KubeFlow in your Local!
If if you encountering any Problem then,
- Install Multipass
snap install multipass
2. Launch multipass
multipass launch –name kubeflow-vm –mem 16G –disk 50G
multipass shell kubeflow-vm
3. Install microk8s in Multipass VM
sudo snap install microk8s –classic
sudo iptables -P FORWARD ACCEPT
sudo usermod -aG microk8s $USER
newgrp microk8s (exit Shell and Enter Shell Again)
Now Follow the steps Mentioned Above.
Congrats! Finally I really Hope You are Enjoying KubeFlow in your Local!
References:
Now, as you have installed it you can go through this article to learn more about KubeFlow and How it Works
https://neptune.ai/blog/deep-dive-into-ml-models-in-production-using-tfx-and-kubeflow
Don’t forget to give us your ? !


Installing a KubeFlow on your Local Machine was originally published in Becoming Human: Artificial Intelligence Magazine on Medium, where people are continuing the conversation by highlighting and responding to this story.
